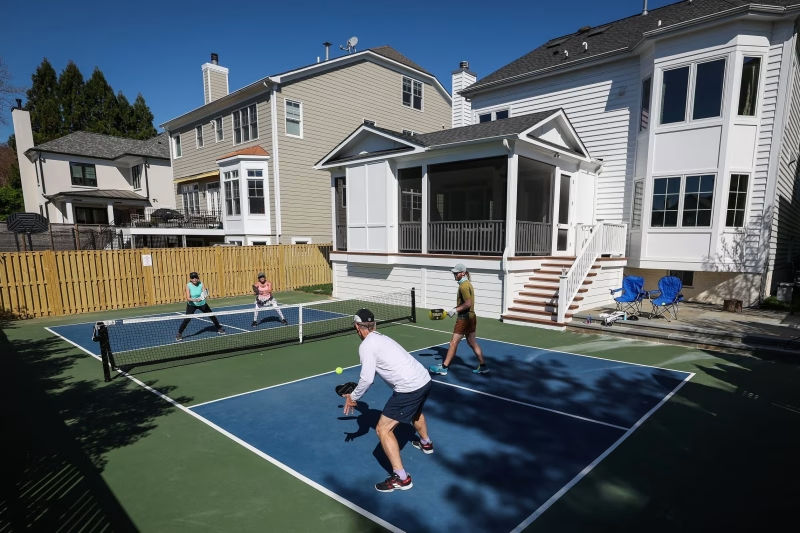
Pickleball is one of the fastest-growing sports in the world, and for good reason. Pickleball is a very fun sport to play with friends, it’s easy to learn, and perfect for all ages. Now this article is specific for people who have caught the pickleball bug and want to take their game to the next level. So now ill ask you a simple question: “Why not build a court right in your backyard?” This step-by-step DIY guide will show you exactly how to do it, whether you’re working with a concrete slab, starting from scratch, or just need to make a temporary court.
Step 1: Check Local Zoning and HOA Rules

Before you start anything remotely related to breaking ground and grabbing a shovel, please make sure you’re allowed to build a court. I know that some neighborhoods and municipalities have zoning restrictions or noise ordinances and rules that you need to follow when it comes to those aspects. If you’re part of a homeowners association (HOA), check their rules too. A quick call to your local planning office can save you major headaches down the road. Now that the admin is sorted, time to start the fun part.
Step 2: Choose the Right Location

Now, for probably the most important part. Location. You need to pick a flat area with enough room for a standard pickleball court:
- Official size: 20 feet wide by 44 feet long
- Recommended total space (including overrun): 30 feet wide by 60 feet long
If you don’t have that much space, you can still build a recreational court with slightly smaller dimensions. It really depends on how much space you can work with.
A tip that I suggest is that you need to look for a spot that gets good drainage and has plenty of sunlight. You should also avoid low-lying areas that collect water because that can cause some serious headaches.
Step 3: Decide on the Surface
Now that you have a location, it is time to choose what surface you would like to play on. Rememer this is your pickleball court so choose what you personally like. You have a few options when it comes to the court surface:
- Concrete or Asphalt: Durable and low-maintenance, ideal for a permanent court.
- Sport Court Tiles: Snap-together plastic tiles that go on top of a hard surface. Great for cushioning.
- Compacted Gravel + Outdoor Carpet: Budget-friendly but not ideal for serious play.
Pro tip: If you’re starting from grass, you’ll need to dig down, level the area, and lay a proper sub-base for durability.
Step 4: Prepare the Base
This is only for the people who need to create a concrete slab to play on. If you already have a surface to play on, you can skip this step. So lets get into making the base of your pickleball court:
- Mark the boundaries using stakes and string.
- Excavate the area to about 4–6 inches deep.
- Install forms using 2x4s around the perimeter.
- Add a gravel base (3–4 inches) and compact it.
- Pour the concrete and smooth it with a screed and trowel.
- Allow to cure for at least 28 days before painting.
Step 5: Paint the Court Lines
Now that you have waited a month for the surface to cure, it is time to paint the lines of your court:
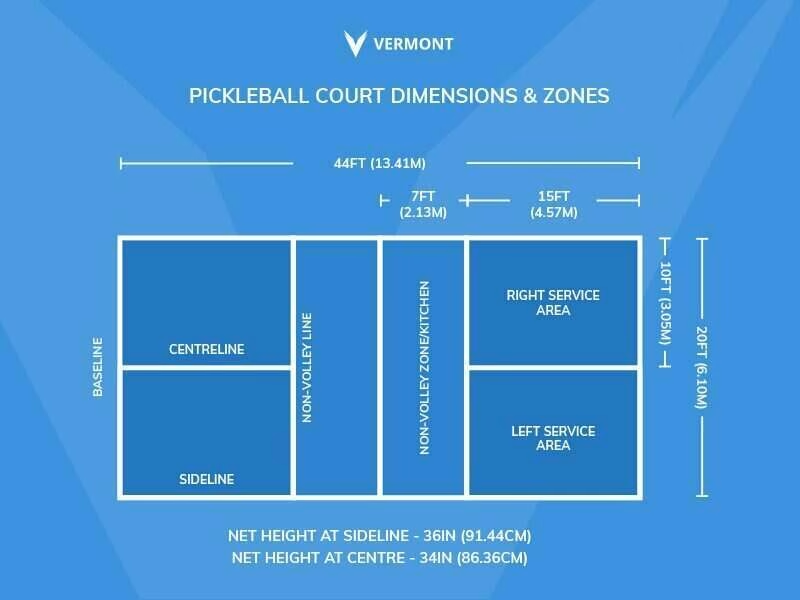
- Measure and mark the court lines:
- 20×44 ft playing area
- 7 ft non-volley zone (“kitchen”) on both sides of the net
- Use painter’s tape to mark the lines.
- Apply outdoor court paint with a roller or line striper.
- Remove tape once the paint is dry.
You can buy a pickleball stencil kit to make this easier or you can just follow the dimensions in the image above. The layout is very simple. If I can make a suggestion, make sure you get a durable paint since your court will be facing all the forces of nature so make sure you get a good paint.
Step 6: Install the Net
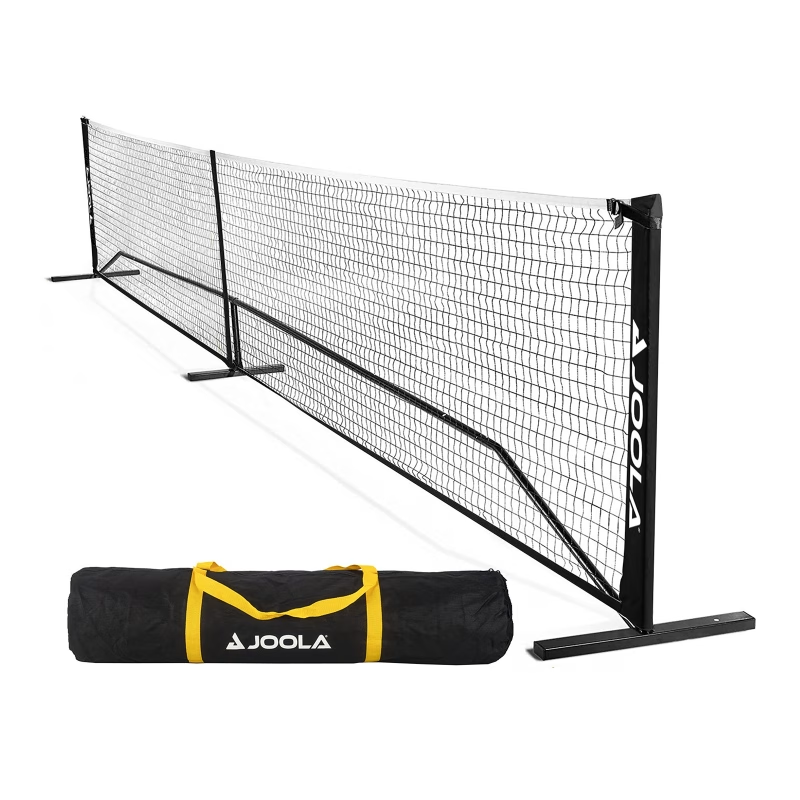
Pickleball nets are 36 inches high at the sidelines and 34 inches in the center. You have two options:
- Permanent net posts: Cemented into the ground for stability.
- Portable net system: Quick setup and takedown, ideal for multi-use areas.
I would suggest a portable net system because it will last longer since you can take it inside and not leave it in the sun and get it destroyed. Whichever net you choose, make sure to place the net exactly in the center of the court (22 feet from each baseline).
Step 7: Add Finishing Touches
Now your court is ready to be played on. If you want to add a few extras you can. Below are a few extras to consider if you want to upgrade your court:
- Fencing or netting to catch stray balls
- Lighting for nighttime play
- Benches or storage for paddles and balls
- Windscreens if your area gets breezy
Cost to Build a Backyard Pickleball Court
Here’s a rough breakdown:
| Item | Estimated Cost |
|---|---|
| Concrete slab | $4,000 – $7,000 |
| Court paint & lines | $200 – $500 |
| Net & posts | $150 – $600 |
| Optional fencing | $500 – $2,000+ |
| Total DIY build | $4,850 – $10,100 |
You can save money by doing more of the work yourself and shopping around for materials.
Final Thoughts
Building a pickleball court in your backyard is a fun and rewarding project that can boost your home’s value and give you a personal space to practice and play. Whether you go all-in on a pro-level setup or keep it casual with a half-court and portable net, you’re guaranteed hours of active fun right outside your door.
Got your court built? Grab your paddle and invite your friends—game on!

